How to Frame a Jigsaw Puzzle: A Step-by-Step Guide
Preserving and displaying a finished jigsaw puzzle is a rewarding way to showcase your accomplishment. Using a specialized “Kit For Placing Puzzles,” you can easily turn your puzzle into a solid, frame-ready piece of art. This tutorial walks you through the entire process—from flipping the puzzle safely to choosing the best display option.
What You’ll Need:
-
One completed jigsaw puzzle
-
A Kit For Placing Puzzles (includes: corrugated cardboard with creases, green stickers, transparent adhesive film,Joints plasticine)
-
A picture frame of the same size as your puzzle (Natural Solid Oak Wood Photo Frame)
Step 1: Flip the Puzzle Safely
Flipping the puzzle without breaking it is the most important step.
-
Set Up the Cardboard:
Unfold the corrugated cardboard from the kit. You’ll notice pre-scored crease lines. Use the included green stickers to secure one short edge of the cardboard firmly to your table. -
Transfer the Puzzle:
Gently slide your completed puzzle (image facing up) onto the cardboard.
⚠️ Important: Make sure the puzzle does not extend past the center crease. -
Fold and Flip:
Fold the loose half of the cardboard over the puzzle along the center crease, like closing a book.
Remove the green stickers holding the cardboard to the table.
Holding both halves together firmly, flip the entire assembly over.
Open the cardboard—your puzzle is now image-side down and ready for the next step.
Step 2: Apply the Adhesive Film
This film strengthens the puzzle and holds all the pieces together.
-
Apply the Film:
Peel the transparent adhesive film from its backing. Starting at one end, carefully lay it across the entire back of the puzzle. -
Smooth Out Bubbles:
Use the hard card from the kit to smooth the film from the center outward. Apply even pressure to remove air bubbles and ensure full adhesion. -
Trim the Edges:
Use a craft knife to trim any excess film around the puzzle. Your puzzle is now a solid, preserved panel.
Step 3: Choose Your Display Method
✅ Option A: Framing Your Puzzle (Recommended)
Framing offers the best protection and a polished look.
-
Flip your puzzle panel over so the image faces up.
-
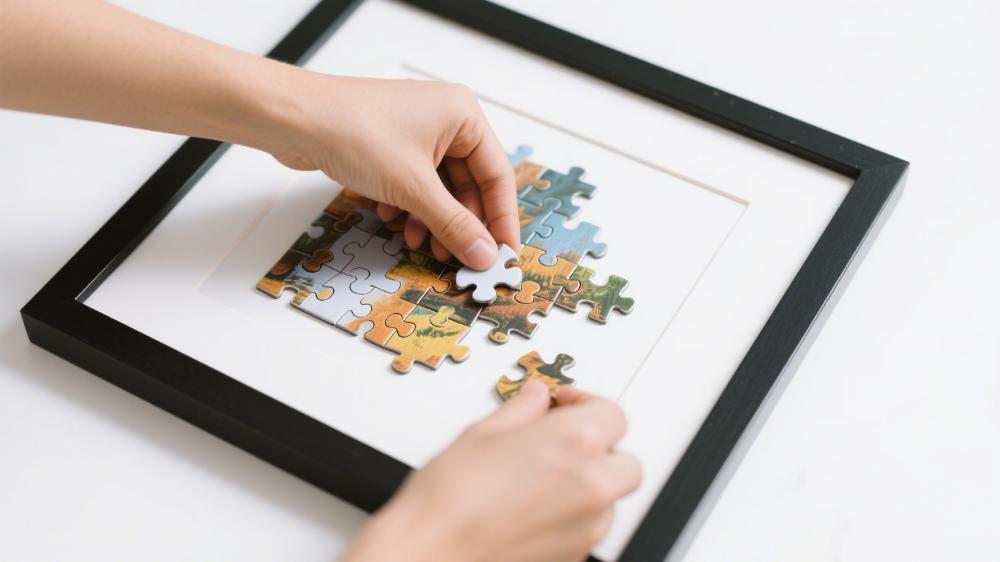
Open your picture frame and remove the backing board.
-
Place the puzzle inside the frame.
-
Reassemble the frame according to the manufacturer’s instructions.
-
Hang the frame using the included hardware (e.g., sawtooth hanger or wire).
✅ Option B: Direct Wall Mount with Joints Plasticine
A simple, frame-free alternative using the included Joints plasticine.
-
Flip the puzzle panel image-side up.
-
Roll small pieces of Joints plasticine into balls and press them firmly to the back of the puzzle—near the corners and center.
-
Press the puzzle firmly against the wall, applying even pressure to secure it.
📌 Note: Best for lighter puzzles.
Final Recommendations
-
For a clean, professional finish, Option A (framing) is highly recommended.
-
Use Joints plasticine only for direct wall mounting (Option B), not for frame assembly.
-
Always handle the puzzle panel with care during the flipping and framing process.
By following these steps, you can confidently preserve, protect, and display your jigsaw puzzle for years to come.