Comment coller un puzzle | Conseils pour coller des puzzles
Tutoriel pour coller un puzzle
Conditions préalables pour coller un puzzle :
- Un puzzle terminé
- Un ensemble d'outils pour coller le puzzle
Kit d'outils pour coller un puzzle (Disponible à l'achat maintenant):
L'ensemble pour monter des puzzles comprend :
- Moule en carton pour retourner le puzzle
- Autocollants verts pour fixer le moule en carton à la table
- Feuilles de film transparent (x3 pièces) pour maintenir les pièces du puzzle ensemble
- Pâte à modeler pour articulations
- Instructions
Un kit peut être utilisé pour accrocher jusqu'à 6 petits puzzles, 3 puzzles moyens ou 3 puzzles de grande taille.
Suivez les étapes de la vidéo pour coller votre puzzle :
- Dépliez le carton : En dépliant, vous verrez clairement trois plis le long des bords courts parallèles et un seul pli central le long du bord long parallèle.
- Sécurisez le bord court : À l'aide d'autocollants verts, fixez solidement l'un des bords courts du carton au bord de votre table ou de votre établi.
- Transférer le Puzzle : Déplacez soigneusement et lentement votre puzzle terminé, face vers le haut, sur le carton, en veillant à ne pas dépasser la ligne médiane des bords courts parallèles.
- Pliez le carton : Pliez le carton le long de la ligne médiane des bords courts parallèles, et retirez délicatement les autocollants verts qui le fixent au bord de l'établi.
- Retournez le puzzle : En retournant le carton plié, vous aurez un puzzle complet face vers le bas.
- Appliquer le film : Retirez une feuille de film transparent et collez-la à l'arrière du puzzle. Utilisez une carte rigide pour enlever lentement les bulles d'air entre le puzzle et le film, en veillant à obtenir un lien solide.
- Couper l'excès de film : Utilisez un couteau pour couper soigneusement tout excès de film le long des bords du puzzle.
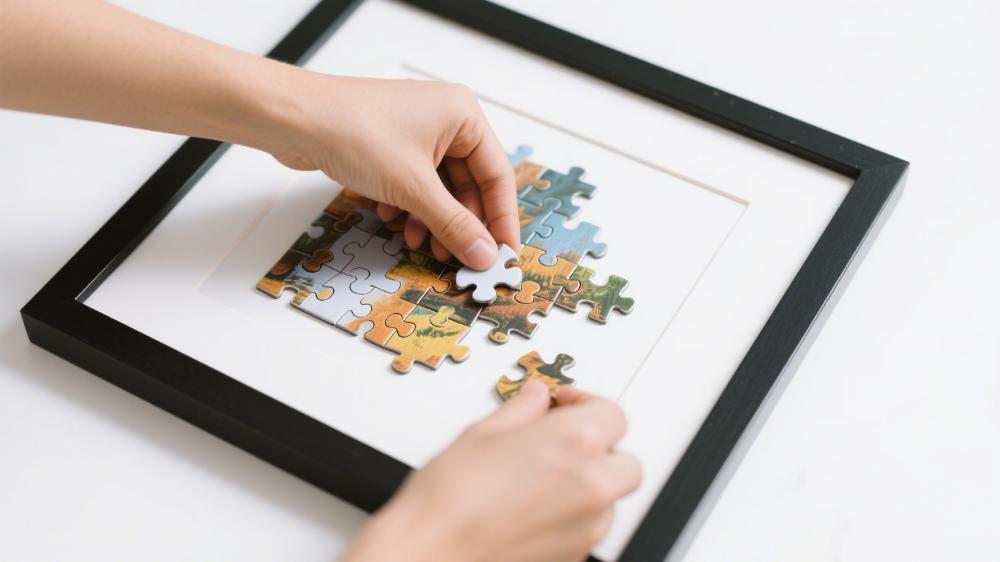
- Placement final : Enfin, vous pouvez utiliser de la plasticine conjointe pour fixer directement le puzzle collé sur un mur ou l'exposer élégamment dans un cadre.
Achetez maintenant >> Cadre de puzzles
Le code QR concerne comment coller un puzzle.


